


Looking for soft, precise, professional nail art? Time to try the nail airbrush. This technique, straight from pro studios, lets you create pastel gradients, smoky effects, or flawless nail backgrounds in just a few sprays.
At Ongléose, we’ve selected the best nail-friendly airbrushing gear so you can create like an artist—whether you're a beginner or a certified nail tech.
Everything You Need to Know About Nail Airbrushing & Gradient Nail Art
1. What Is a Nail Airbrush?
It allows you to:
- Create sharp gradients (perfect for backgrounds)
- Use stencils for clean designs
- Make halo, smoky, or galaxy effects
- Apply product flawlessly—no brush marks!
Our range of portable airbrushes
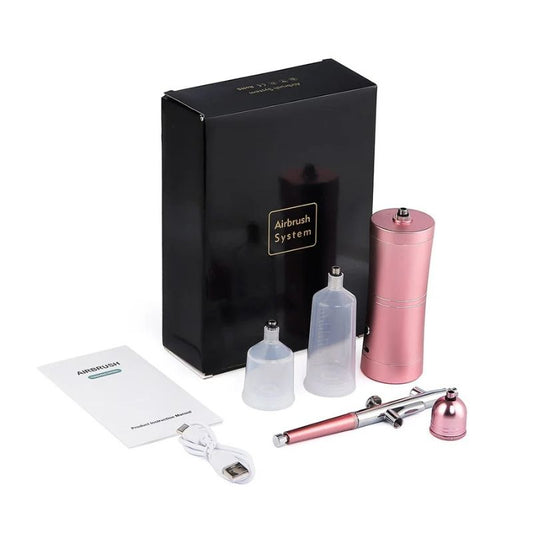
SMART AIR ROSE - PORTABLE NAILART AIRBRUSH
The SMART AIR Rose is a portable, rechargeable airbrush designed specifically for nail art enthusiasts. Lightweight, compact, and easy to use, it's perfect for all your nail art creations: soft gradients, blurred effects, or unique designs. Its built-in compressor allows you to work cordlessly,...
- 38,99 €
0,00 €- 38,99 €
- Unit price
- per
Save -38,99€

SMART AIR BLACK - PORTABLE NAILART AIRBRUSH
The SMART AIR Black is a portable, rechargeable airbrush designed specifically for nail art enthusiasts. Lightweight, compact, and easy to use, it's perfect for all your nail art creations: soft gradients, blurred effects, or unique designs. Its built-in compressor allows you to work cordlessly,...
- 38,99 €
0,00 €- 38,99 €
- Unit price
- per
Save -38,99€
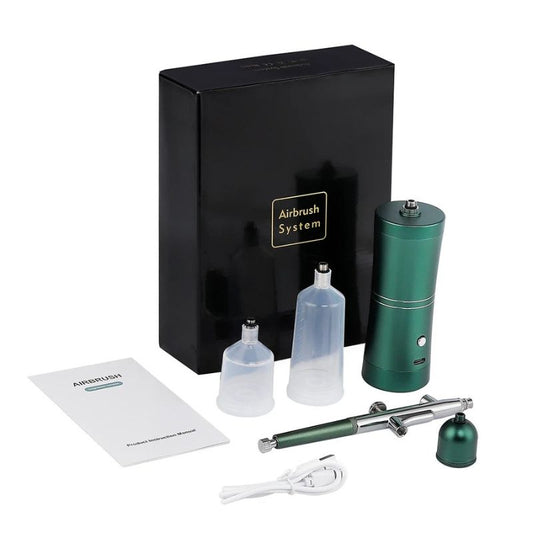
SMART AIR GREEN - PORTABLE NAILART AIRBRUSH
The SMART AIR Green is a portable, rechargeable airbrush designed specifically for nail art enthusiasts. Lightweight, compact, and easy to use, it's perfect for all your nail art creations: soft gradients, blurred effects, or unique designs. Its built-in compressor allows you to work cordlessly,...
- 59,99 €
- 59,99 €
- Unit price
- per
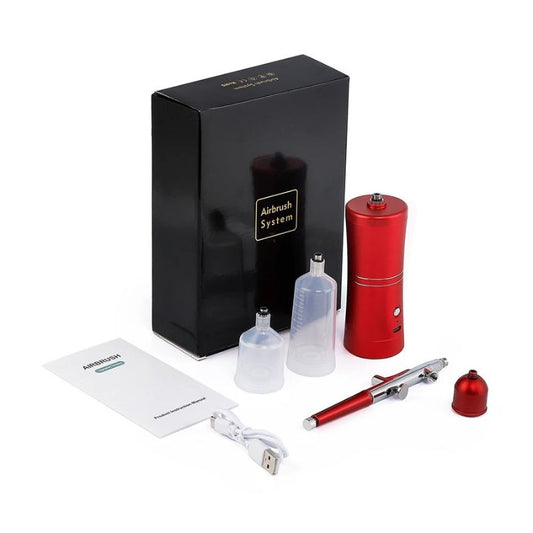
SMART AIR RED - PORTABLE NAILART AIRBRUSH
The SMART AIR Red is a portable, rechargeable airbrush designed specifically for nail art enthusiasts. Lightweight, compact, and easy to use, it's perfect for all your nail art creations: soft gradients, blurred effects, or unique designs. Its built-in compressor allows you to work cordlessly,...
- 38,99 €
0,00 €- 38,99 €
- Unit price
- per
Save -38,99€
GREEN PORTABLE AIRBRUSH
Green portable airbrush for nails, 0.3 mm, specifically designed for nail art, enabling precise details and controlled application without overspray. With its fine nozzle and dual-action system, it provides complete control over paint flow for flawless nail finishes. Compact and portable, this nail airbrush...
- 57,99 €
0,00 €- 57,99 €
- Unit price
- per
Save -57,99€
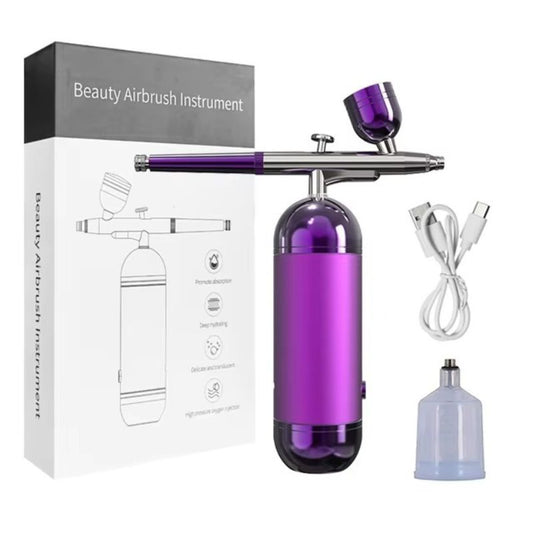
PURPLE PORTABLE AIRBRUSH
Purple portable airbrush for nails, 0.3 mm, specifically designed for nail art, enabling precise details and controlled application without overspray. With its fine nozzle and dual-action system, it provides complete control over paint flow for flawless nail finishes. Compact and portable, this nail airbrush...
- 55,99 €
0,00 €- 55,99 €
- Unit price
- per
Save -55,99€
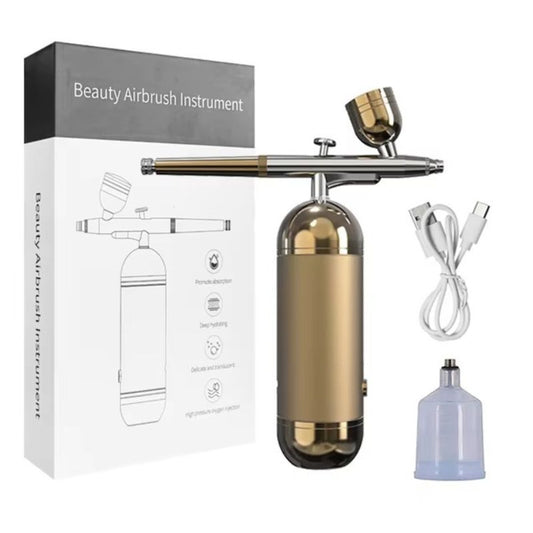
GOLD PORTABLE AIRBRUSH
Gold portable airbrush for nails, 0.3 mm, specifically designed for nail art, enabling precise details and controlled application without overspray. With its fine nozzle and dual-action system, it provides complete control over paint flow for flawless nail finishes. Compact and portable, this nail airbrush...
- 54,99 €
0,00 €- 54,99 €
- Unit price
- per
Save -54,99€
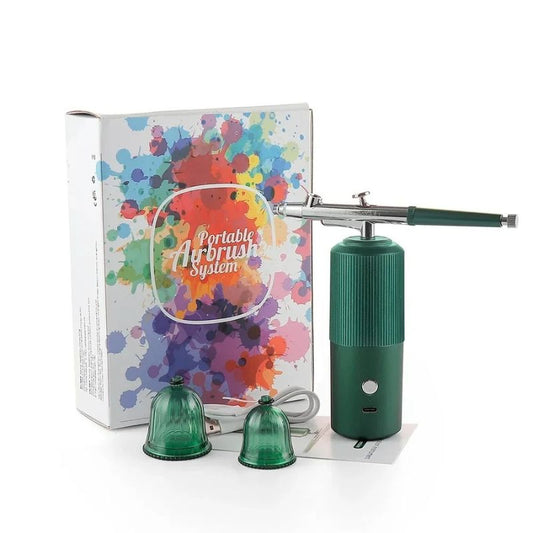
CREA AIR VERT - PORTABLE NAILART AIRBRUSH
The CREA AIR Green is our most precise and powerful handheld airbrush, designed for demanding nail artists. Its ultra-fine 0.3 mm nozzle provides a consistent spray pattern, ideal for sharp gradients, precise contours, or using stencils. USB rechargeable, lightweight, and cordless, it offers complete...
- 39,99 €
0,00 €- 39,99 €
- Unit price
- per
Save -39,99€
2. Our Picks at Ongléose
- Wireless Rechargeable Airbrush: Lightweight, easy to handle, compact.
- Extra Stainless Steel Tanks: Ideal for switching colors without cleaning in between.
- Nail-Safe Fluid Paints
- Creative Stencils (floral shapes, stars, smoky effects)
Our portable airbrush accessories

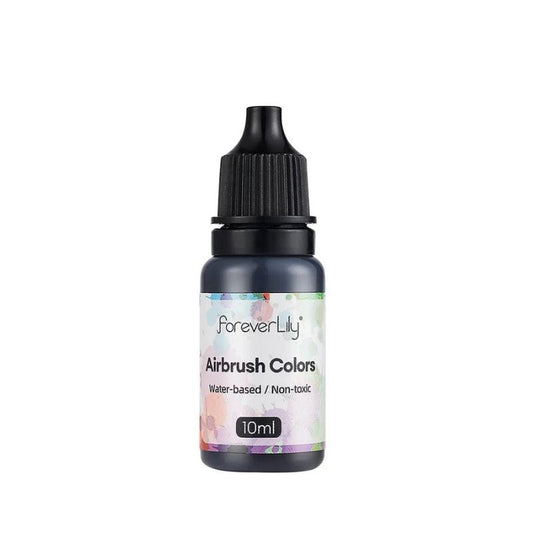
WHITE AIRBRUSH NAIL ART PAINT
Our acrylic white nail art paint is specially formulated for nails and is ideal for use with an airbrush. Crafted with ultra-fine pigments, it minimizes the risk of clogging your airbrush, ensuring a smooth and precise application. This quick-drying paint is perfect for creating...
- 1,99 €
0,00 €- 1,99 €
- Unit price
- per
Save -1,99€
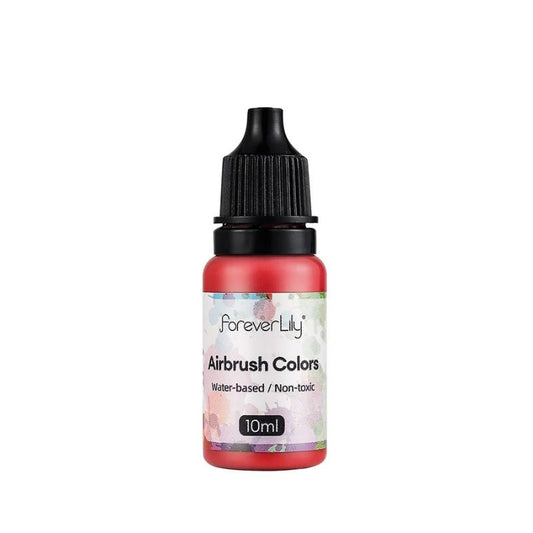
RED AIRBRUSH NAIL ART PAINT
Our acrylic red nail art paint is specially formulated for nails and is ideal for use with an airbrush. Crafted with ultra-fine pigments, it minimizes the risk of clogging your airbrush, ensuring a smooth and precise application. This quick-drying paint is perfect for creating...
- 1,99 €
0,00 €- 1,99 €
- Unit price
- per
Save -1,99€
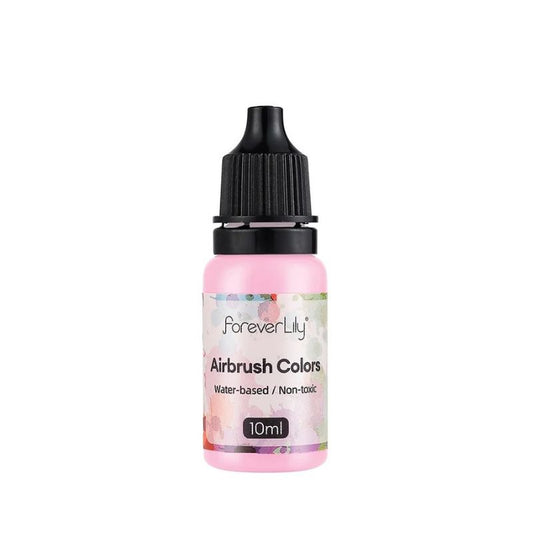
PASTEL PINK ACRYLIC NAIL ART PAINT
Our Pastel Pink Acrylic Nail Art Paint is specially formulated for use on nails and is ideal for application with an airbrush. Featuring ultra-fine pigments, it minimizes the risk of clogging in the airbrush, ensuring a smooth and precise application. This fast-drying paint is...
- 1,99 €
0,00 €- 1,99 €
- Unit price
- per
Save -1,99€
BLACK ACRYLIC NAIL ART PAINT
Our Black Acrylic Nail Art Paint is specially formulated for use on nails and is ideal for application with an airbrush. Featuring ultra-fine pigments, it minimizes the risk of clogging in the airbrush, ensuring a smooth and precise application. This fast-drying paint is perfect...
- 1,99 €
0,00 €- 1,99 €
- Unit price
- per
Save -1,99€

PURPLE PORTABLE AIRBRUSH RESERVOIRS
This set of two 7 ml purple stainless steel reservoirs is designed to fit your purple portable airbrush and simplify multi-color application. These durable reservoirs offer ideal paint capacity, allowing smooth and even application without the need for immediate cleaning between color changes. With...
- 7,00 €
- 7,00 €
- Unit price
- per

GOLD PORTABLE AIRBRUSH RESERVOIRS
This set of two 7 ml gold stainless steel reservoirs is designed to fit your gold portable airbrush and simplify multi-color application. These durable reservoirs offer ideal paint capacity, allowing smooth and even application without the need for immediate cleaning between color changes. With...
- 7,00 €
- 7,00 €
- Unit price
- per

GREEN PORTABLE AIRBRUSH RESERVOIRS
This set of two 7 ml green stainless steel reservoirs is designed to fit your green portable airbrush and simplify multi-color application. These durable reservoirs offer ideal paint capacity, allowing smooth and even application without the need for immediate cleaning between color changes. With...
- 7,00 €
- 7,00 €
- Unit price
- per

AIRBRUSH CLEANING KIT
Optimize the cleaning of your nail art airbrush with this complete kit! Designed to reach every nook, it’s ideal for maintaining nozzles, paint channels, and nozzle tips, especially when paint particles accumulate. Twisted stainless steel needles and nylon brushes allow precise cleaning of your...
- 3,99 €
0,00 €- 3,99 €
- Unit price
- per
Save -3,99€

AIRBRUSH CLEANING NEEDLES
This cleaning kit is an essential tool for precisely maintaining nail art airbrushes. Comprising 5 twisted stainless steel rods (0.4mm, 0.5mm, 0.6mm, 0.7mm, and 0.8mm), it’s ideal for removing residue from the finest nozzles. The needles come with a handy key ring for easy...
- 3,99 €
0,00 €- 3,99 €
- Unit price
- per
Save -3,99€

AIRBRUSH CLEANING BRUSHES
Keep your equipment in perfect condition with this set of cleaning brushes specially designed for nail art airbrushes. Consisting of 5 high-quality nylon brushes (2mm, 3mm, 4mm, 5mm, and 7mm), this kit ensures thorough cleaning of every part of your airbrush. Made of solvent-resistant...
- 3,99 €
0,00 €- 3,99 €
- Unit price
- per
Save -3,99€
3. Tutorial: How to Use a Nail Airbrush
Step 1: Prep Your Station
- Filed nails, base coat applied (gel, gel polish, or nail tip)
- Optional base color (usually white or nude)
- Mask on and well-ventilated space
Step 2: Pick Your Color
- Pour paint into the tank
- Test the spray on a sheet first
Step 3: Spray Gently
- Keep 5–10 cm distance
- Use circular or linear motions
- Layer for more intensity if needed
Step 4: Seal the Look
- Cure if using UV paint
- Finish with a glossy or matte top coat
Optional: Add hand-drawn details, stickers, or a fine French line with a liner brush.

4. Nail Art Ideas With the Airbrush


5. Why Add Airbrushing to Your Nail Routine?
- Saves time – perfect for salon pros
- Boosted creativity – dozens of designs with one tool
- Instant wow effect – even on press-ons
- Stand out – great for making a mark on Insta or TikTok
So, which design will you try first?
Let your imagination run wild… and your airbrush do the magic.
Looking for ideas or want to share your creations?
Join us on Instagram @ongleose to explore behind-the-scenes, tutorials, and the best airbrushed nail looks!


